How to set up Gitlab Backups within Amazon S3 Bucket
How to set up Gitlab Backups within Amazon S3 Bucket
Date: 30-08-2021
Step 1: Log in to the GitLab server via SSH as root.
Step 2: Use the following command to create the backup if you’ve installed GitLab with the Omnibus package.# gitlab-rake gitlab:backup:create
Step 3: This backup creates an archive file that contains the database, all repositories, and all attachments. The backup filename will be [TIMESTAMP]_gitlab_backup.tar in the location of“/var/opt/gitlab/backups/“

Step 4: You should have already created AWS s3 bucket name, IAM user access_key_id, and secret_access_key and add the below details in /etc/gitlab/gitlab.rb file for omnibus packages.backup_keep_time,provider, region, aws_access_key_id, aws_secret_access_key and backup_upload-remote_directory

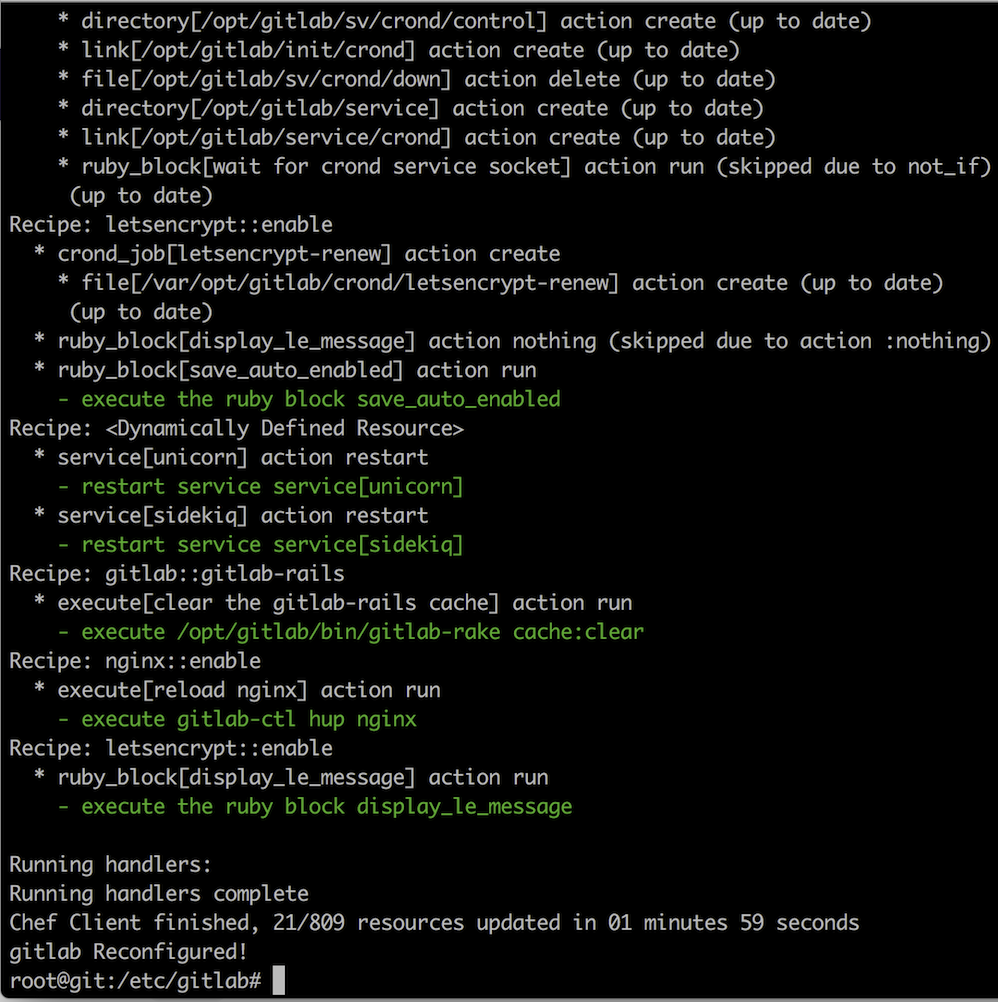
Step 5: Run the following command to reconfigure your GitLab after making these changes.# gitlab-ctl reconfigure
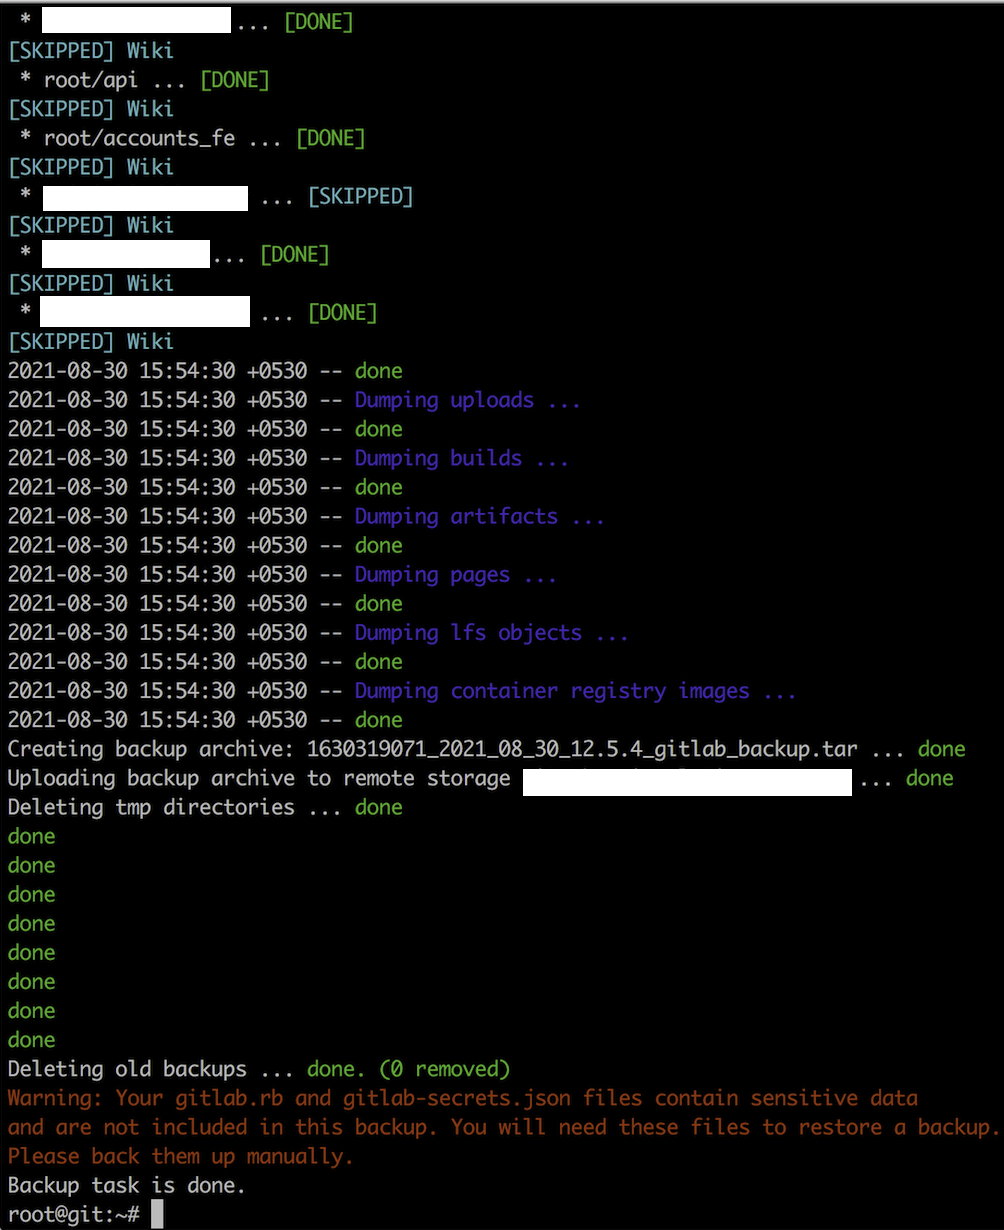
Step 6: Run the below command to create the backup.# gitlab-rake gitlab:backup:create
Step 7: You can set up a cron job to create GitLab back up at 2.00am every day.# crontab -e
Add like below.0 2 * * * /usr/bin/gitlab-rake gitlab:backup:create
Thank you!